Everything You Need to Get Started with Worm Farming in New Zealand
Worm farming — or vermicomposting — is one of the most rewarding things you can do for your garden and your household waste. A good worm farm will turn your kitchen scraps into nutrient-rich compost and liquid fertiliser, reduce what goes to landfill, and fit neatly into almost any outdoor space. Here's how to get started.
Why Start a Worm Farm?
Worm castings (worm poo) are often described as nature's perfect fertiliser. They're rich in nitrogen, phosphorus, potassium, and beneficial microorganisms that improve soil structure and support plant growth. Worm tea — the liquid that drains from the farm — can be diluted and used as a liquid feed for your plants and lawn. A single worm farm can process roughly half its worm weight in food scraps every day, making a real dent in household organic waste.
Choosing a Worm Farm
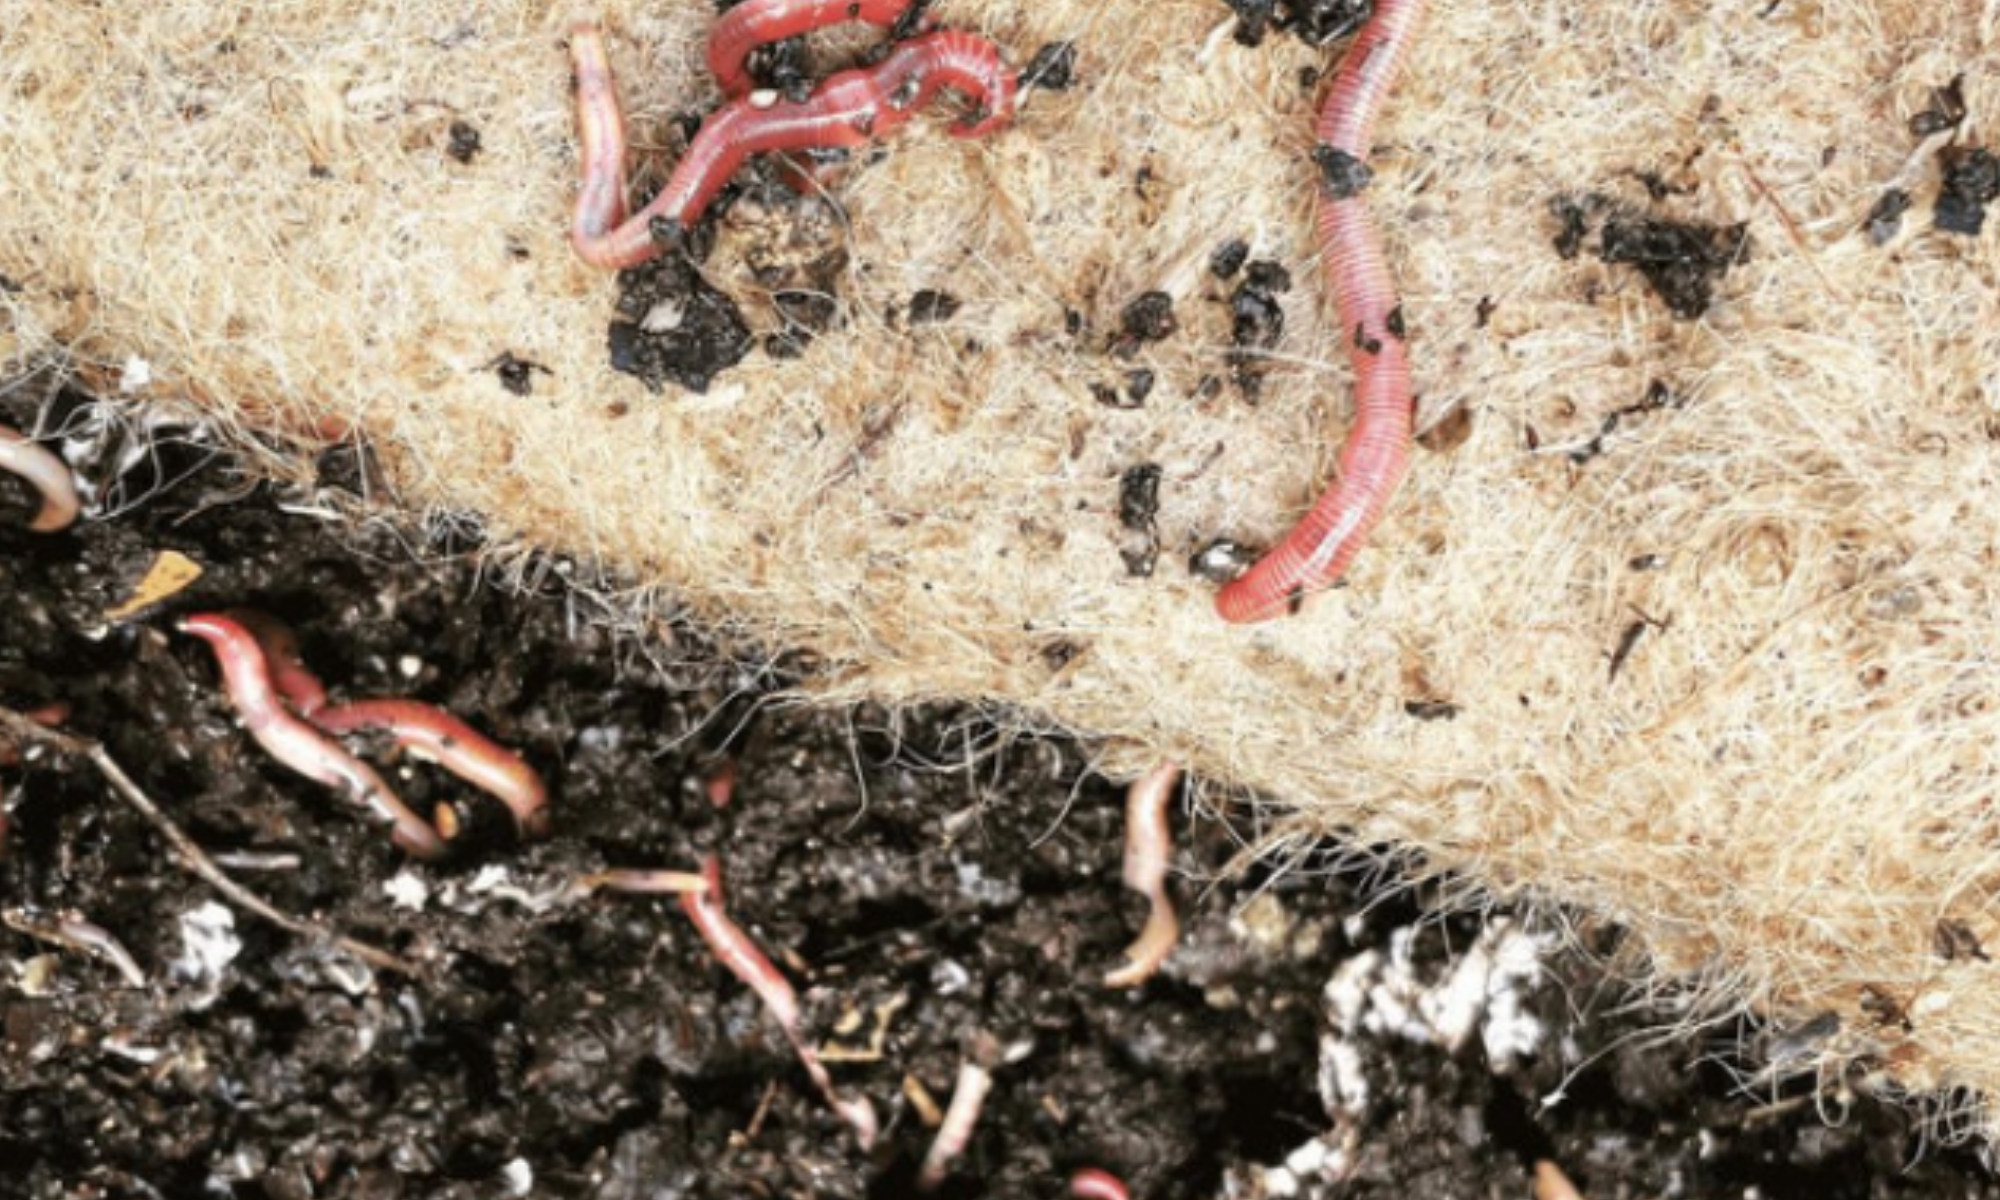
There are several styles of worm farm available, and the right one depends on your space and how much waste you generate.
Tray-based systems are the most popular home worm farm. Worms work upwards through a series of stacking trays, and you harvest the bottom tray once it's full of finished castings. These are tidy, easy to manage, and come in a range of sizes. The Tui Worm Farm and similar multi-tray systems are widely available at hardware and garden centres.
Continuous flow systems are larger and better suited to households generating more waste, or small businesses and community gardens. Worms are fed from the top and castings are harvested from the bottom via a mesh or scraper.
DIY worm bins can be made from repurposed containers like wooden boxes, plastic bins, or even old bathtubs. They work well but require a bit more attention to drainage and airflow.
Whatever system you choose, make sure it has good drainage, a lid to retain moisture and exclude light, and enough ventilation to keep conditions aerobic.
Getting Set Up
Once you have your farm, follow these steps to get it running:
Step 1 — Prepare the bedding. Fill the base tray with a mix of damp cardboard, coir fibre, or aged compost. This is your worms' initial habitat. Moisten it thoroughly so it feels like a wrung-out sponge.
Step 2 — Add your worms. Tiger Worms or Red Wigglers are the species to use — around 500g to 1kg is a good starting amount for a household farm. Tip them gently onto the surface of the bedding. They'll burrow in quickly once you put the lid on.
Step 3 — Start feeding slowly. For the first two weeks, go easy on the food. Your worm population needs time to settle in and establish. Add small amounts of food scraps, buried under the bedding, every few days. As the population grows, you can increase the amount you add.
Step 4 — Collect worm tea. Most tray-based farms have a tap at the bottom to collect liquid. Keep it open over a bucket or tray, dilute the collected liquid to a light tea colour (roughly 1:10 with water), and use it as a liquid fertiliser on your garden beds, lawn, or pot plants.
Harvesting Worm Castings
After a few months, the lower tray of a stacking system will be full of rich, dark castings with few worms remaining. To harvest, stop feeding that tray for a week or two and add fresh food to the tray above — the worms will migrate upward. Then remove the bottom tray and collect your castings.
If using a single-bin system, push the finished compost to one side, add fresh bedding to the other, and place new food only on the fresh side. The worms will migrate across and you can harvest the finished side after a few weeks.
Worm castings can be used as a top dressing around plants, mixed into potting mix, or added to garden beds. Because they're so nutrient-dense, a little goes a long way.
Troubleshooting Common Problems
Fruit flies: Bury food scraps under the bedding and avoid adding soft fruit in large quantities. A layer of damp newspaper over the surface also helps.
Bad smell: Usually caused by overfeeding, too much moisture, or the wrong food. Remove any problem scraps, add dry bedding to absorb excess moisture, and cut back on feeding for a week.
Worms escaping: Check temperature (too hot or cold), pH (try adding lime), or moisture levels. Worms that keep trying to leave are telling you something is off in their environment.
Slow processing: Your worm population may need more time to grow, or the food pieces may be too large. Chop scraps smaller and be patient — populations double roughly every 90 days under good conditions.
A Rewarding Investment
A worm farm is a small commitment that pays off enormously over time. Once established, it almost runs itself — just keep feeding, keep moisture balanced, and harvest regularly. It's a genuinely satisfying way to close the loop on kitchen waste while producing something genuinely valuable for your garden.


