How to Keep Your Composting Worms Happy, Healthy and Productive
Composting worms are one of the hardest-working creatures you can welcome into your garden but like any living thing, they thrive when their environment is right. Whether you're just starting out or troubleshooting an existing worm farm, this guide covers everything you need to know about worm care.
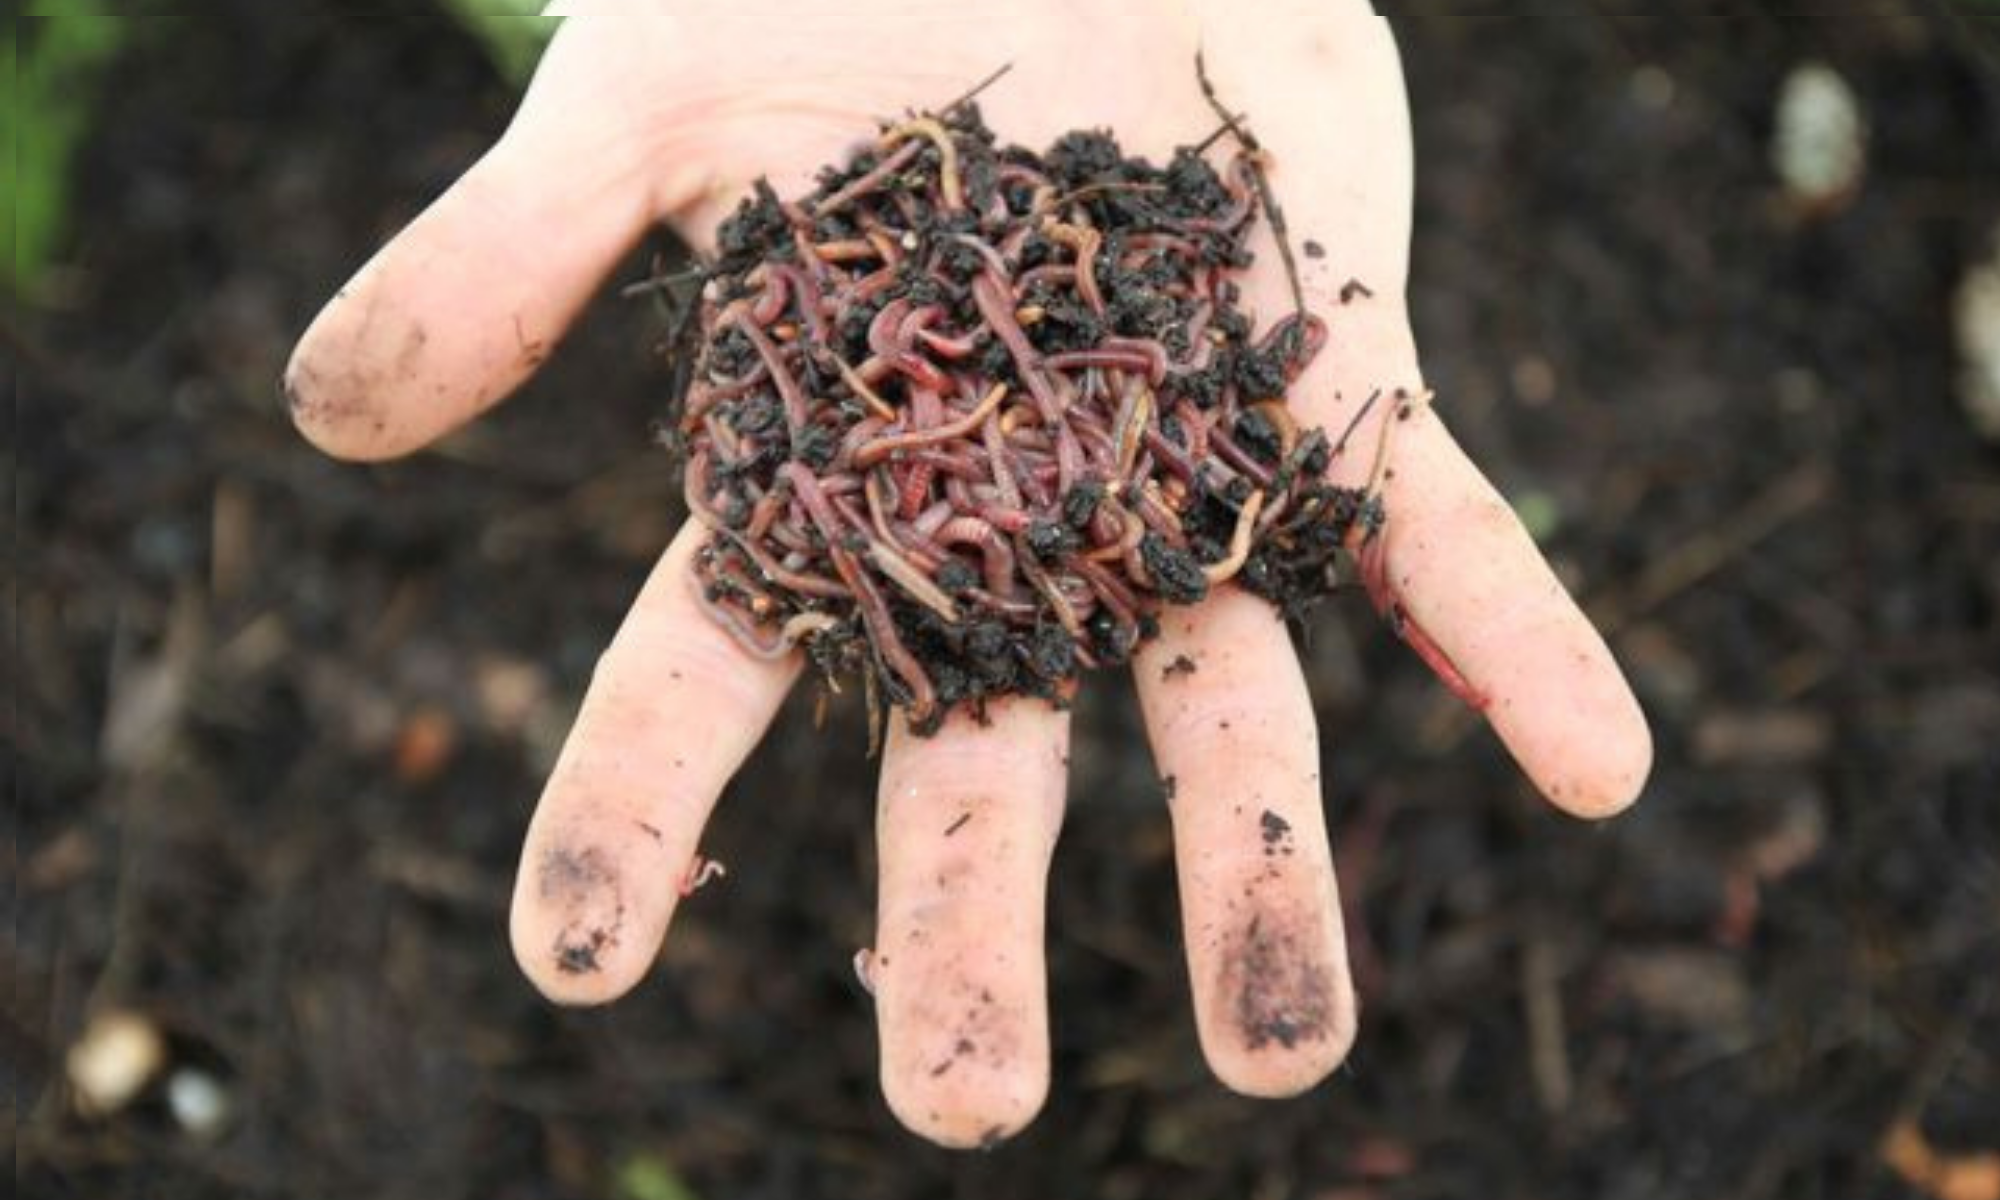
Choosing the Right Worms
Not all worms are created equal. The two species best suited to worm farming in New Zealand are Tiger Worms (Eisenia fetida) and Red Wigglers (Lumbricus rubellus). Both are surface feeders, meaning they process organic waste near the top of the soil rather than burrowing deep underground — which makes them perfect for a contained worm farm environment. Regular garden earthworms are not suitable for worm farms, as they need deep soil and open space to survive.
Setting Up the Right Bedding
Before your worms arrive, you need to give them a comfortable home. Bedding provides both a habitat and a food source as it breaks down. Good bedding materials include moist, shredded cardboard, non-glossy newspaper, aged compost, or coir fibre. The key is moisture, bedding should feel like a wrung-out sponge. Too dry and your worms will dehydrate; too wet and you risk drowning them or creating anaerobic conditions. Aim for around 70–80% moisture content.
Feeding Your Worms
Worms are fantastic recyclers of kitchen and garden waste, but there are some important rules around what to feed them.
Great worm food: Fruit and vegetable scraps, coffee grounds and paper filters, tea bags (remove staples), crushed eggshells, aged grass clippings, and shredded paper.
Avoid feeding: Citrus peels, onions, garlic, dairy products, meat or fish, oily foods, and heavily processed or salty foods. These can create odour problems, acidic conditions, or attract pests.
Chop or tear food scraps into smaller pieces before adding them as worms don't have teeth, so smaller pieces break down much faster. Add food in small amounts regularly rather than large dumps all at once, and bury it under the bedding to discourage flies.
The Right Environment
Worms are sensitive to temperature and light. They perform best in temperatures between 15°C and 25°C, and they dislike direct sunlight. Position your worm farm in a shaded, sheltered spot — a garage, under a deck, or in a cool corner of the garden works well. In summer, make sure they don't overheat; in winter, move them somewhere insulated or add extra bedding to retain warmth.
Keep the lid on your worm farm to maintain moisture and darkness. Worms are photophobic, meaning they instinctively move away from light, which is actually useful when harvesting castings.
Maintaining a Healthy Worm Farm
A well-balanced worm farm should be virtually odour-free. If things are smelling bad, the most likely cause is overfeeding, too much moisture, or the wrong food being added. To keep your farm in good shape:
Add a small handful of garden lime or dolomite lime every couple of months to keep the pH neutral. Worms prefer a pH of around 6–7, and food scraps tend to be acidic as they break down. Lime counteracts this without harming your worms.
Occasionally fluff and aerate the bedding to prevent compaction and maintain airflow. If liquid is pooling at the bottom of your farm, make sure the drainage tap is open and your worm tea is being collected regularly.
Signs of Healthy Worms
Happy worms are active, plump, and a rich reddish-brown colour. They should be spread throughout the bedding and food layers. If your worms are all clustered at the top, the bottom of the farm may be too wet or acidic. If they're trying to escape, something in the environment is wrong, check temperature, moisture, and pH first.
With the right care, your worms will reproduce steadily, process your kitchen waste efficiently, and reward you with rich castings and liquid fertiliser for your garden. They're low maintenance, but they do reward attention.


