

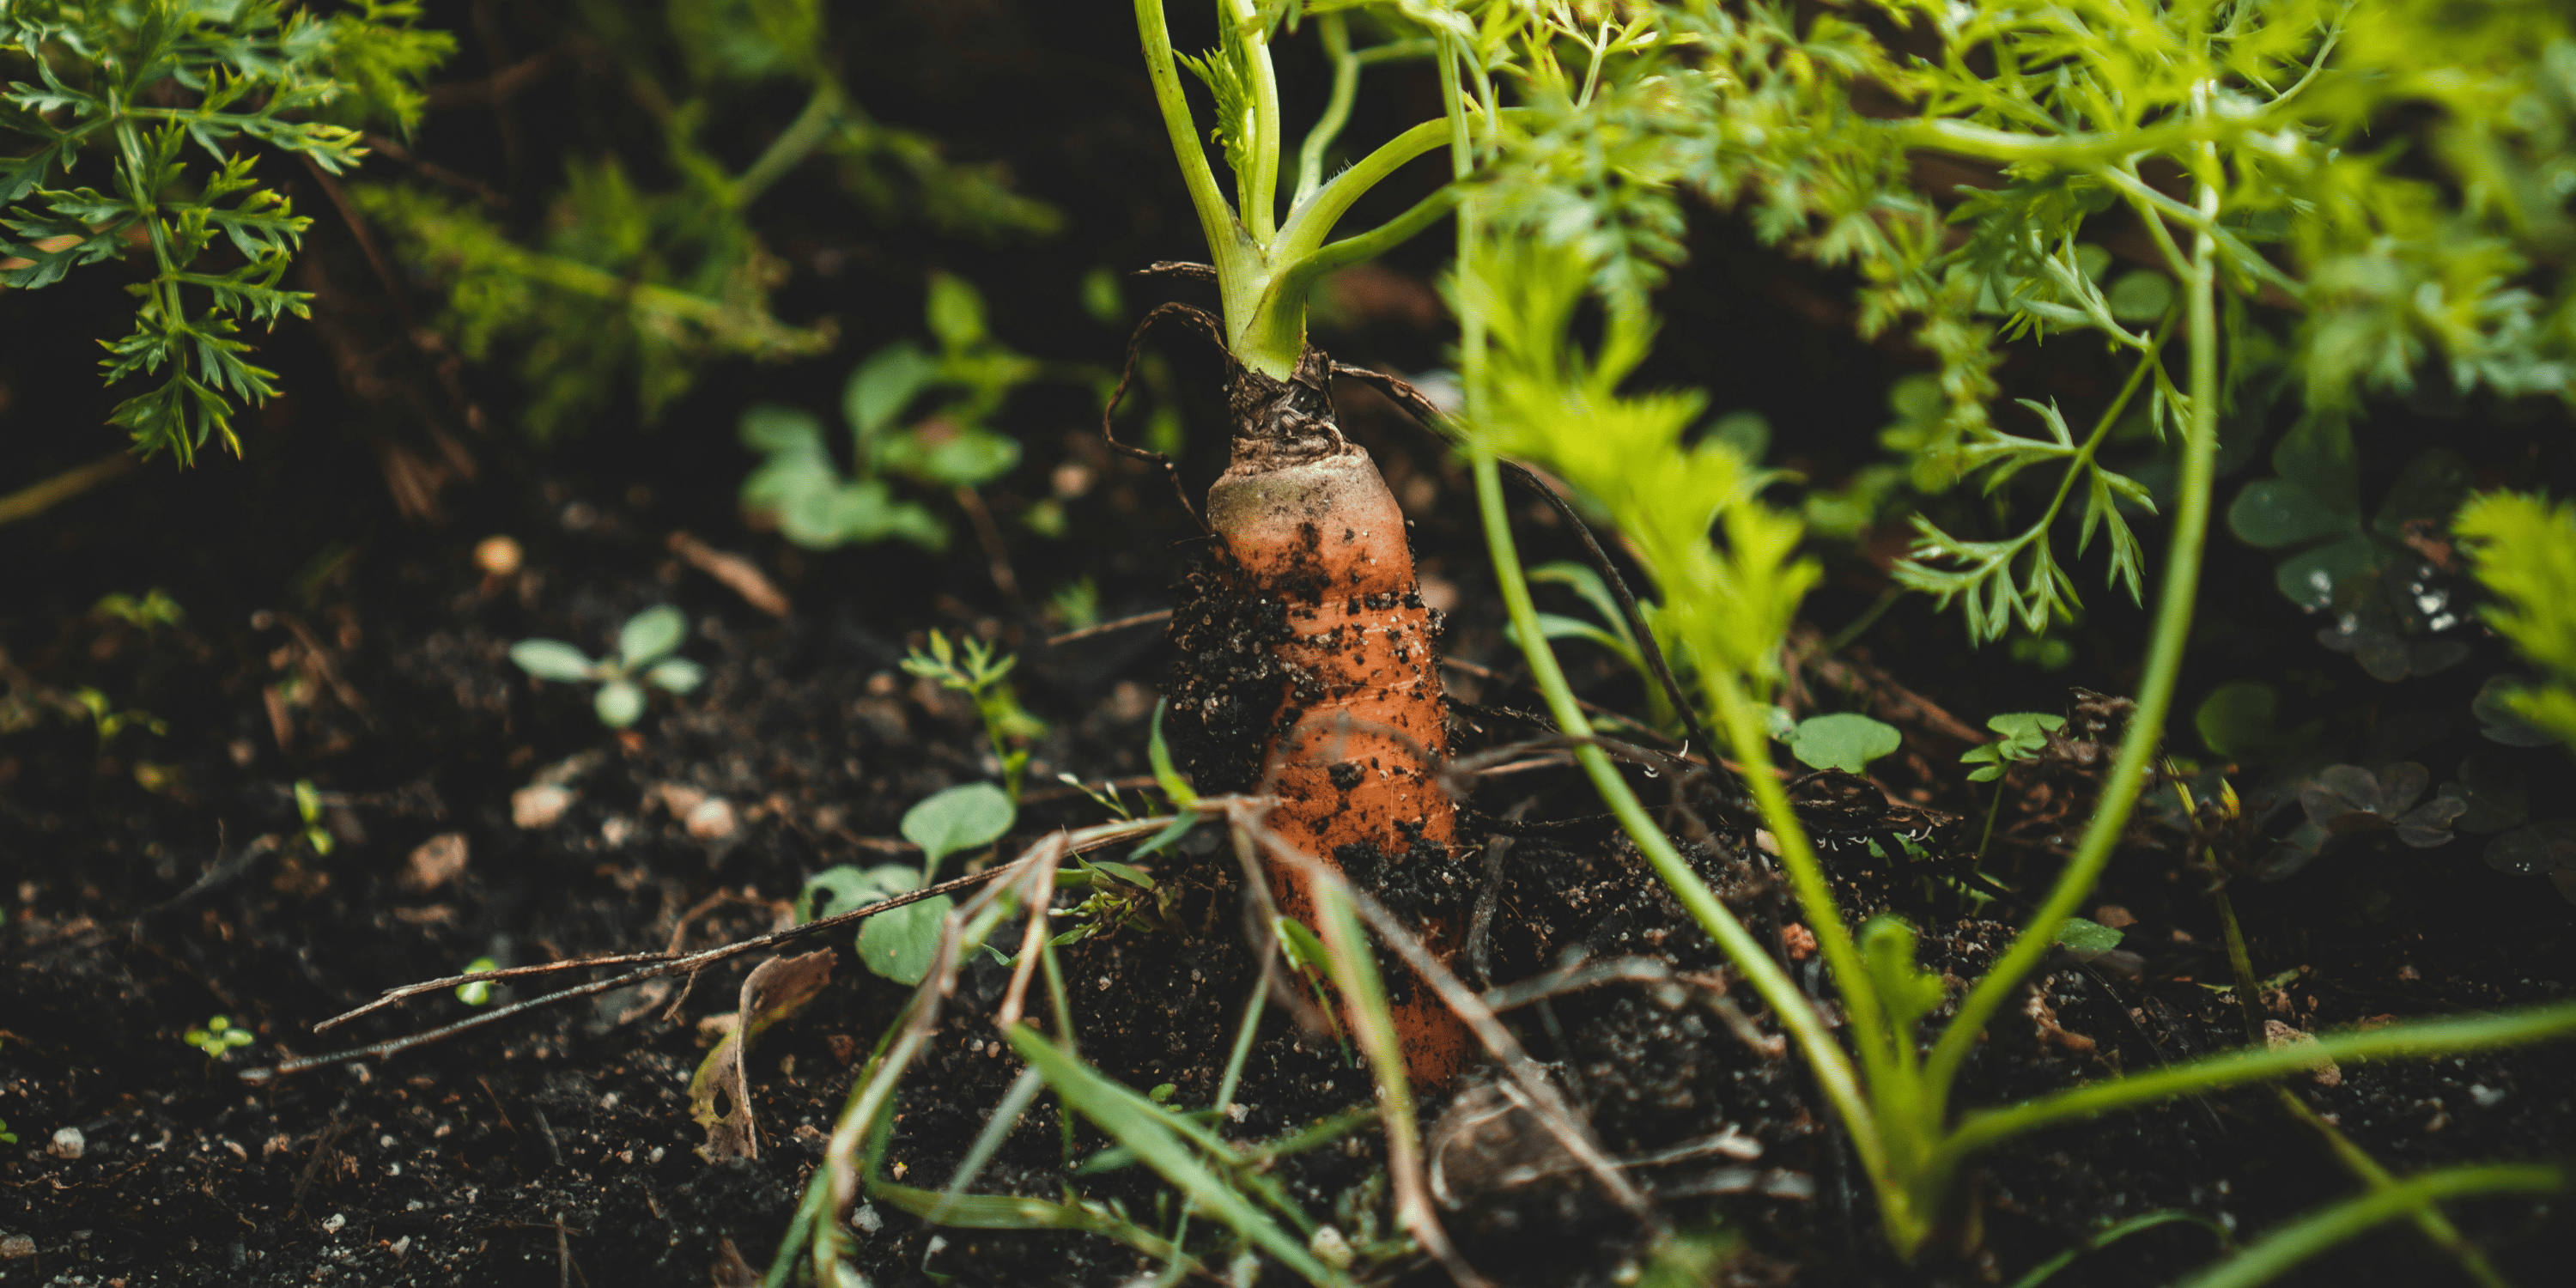
The truth about home-grown carrots
A supermarket carrot is a tired carrot. It was pulled weeks ago, washed, sweated in a plastic bag, and arrived on the shelf already past its peak. A home-grown carrot pulled the morning of dinner is, genuinely, a different vegetable.
The problem is that most beginner carrots fail. They come up forked, stunted, hairy, or not at all. The soil is wrong, the sowing is wrong, the thinning is wrong. Here's how to actually grow them.
Step 1: The soil matters more than anything
Carrots have one job: drive a single tap root straight down into the ground. If the soil is wrong, the carrot is wrong.
What carrots want:
- Light, sandy, free-draining soil
- Stone-free to a spade's depth
- No fresh compost or manure (this causes forking)
- Slightly acidic to neutral pH (6 to 7)
What carrots hate:
- Heavy clay
- Stones, sticks, lumps
- Fresh compost or manure (causes the root to fork and split)
- Compacted soil
If your soil is heavy, build a raised bed and fill it with light sandy mix. Or grow shorter varieties ('Paris Market', 'Chantenay') that don't need deep soil.
Step 2: Sowing
Carrots want to be sown direct, not transplanted. They sulk and fork when moved.
- Rake the bed to a fine tilth. No clumps.
- Draw shallow drills (5mm deep) about 20cm apart.
- Sprinkle seed thinly along the drill. Aim for one seed every centimetre. You will fail at this. Don't worry about it yet.
- Cover lightly with sieved compost or sand.
- Water gently with a fine rose.
- Keep the soil moist until germination (usually 14 to 21 days). Don't let it dry out.
A trick that helps: mix carrot seed with sand at a 1:4 ratio before sowing. The sand bulks the mix and spreads the seed naturally.
Step 3: Thinning (the part everyone gets wrong)
When the seedlings are 5cm tall, thin them to 5cm apart. When they're 10cm tall, thin again to 10cm apart.
Without thinning, you get a forest of tangled, deformed roots. Thinning feels brutal. Do it anyway.
Critically: thin in the evening, water before and after, and remove the thinnings (carrot fly will smell them and come for the survivors).
Step 4: Carrot fly and how to defeat it
Carrot fly is the carrot grower's perennial nightmare. Tiny black flies that lay eggs near the carrots. The larvae burrow into the roots and ruin them.
Defence:
- Plant onions, leeks, or chives between rows. The smell confuses the flies.
- Use insect mesh over the bed from sowing onwards. This is the single biggest defence.
- Thin in the evening when carrot flies aren't active. Don't crush the leaves.
- Plant carrot varieties marked 'fly-resistant' like 'Resistafly' or 'Flyaway'.
Step 5: When to harvest
Most carrots are ready 70 to 100 days after sowing. Smaller varieties (Paris Market, baby chantenay) sooner. Long Imperator types longer.
Don't pull them all at once. Carrots store best in the ground. Mulch heavily in autumn and pull through winter as needed. They'll keep until late spring in cooler regions.
Varieties worth growing
- 'Nantes' or 'Touchon' for classic sweet eating carrots
- 'Paris Market' for short fat round ones perfect for poor soil
- 'Purple Haze' for purple-orange beauty
- 'Resistafly' for serious carrot fly areas
- 'Imperator' for long classic supermarket-style carrots
The honest bit
Carrots are fussier than most beginner vegetables. Get the soil right, sow direct, thin ruthlessly, defeat the fly, and you'll be eating carrots so sweet they'll change your mind about the vegetable entirely. The first proper home-grown carrot is a revelation.
Welcome to the dirt cult. We pull our carrots one at a time.


