

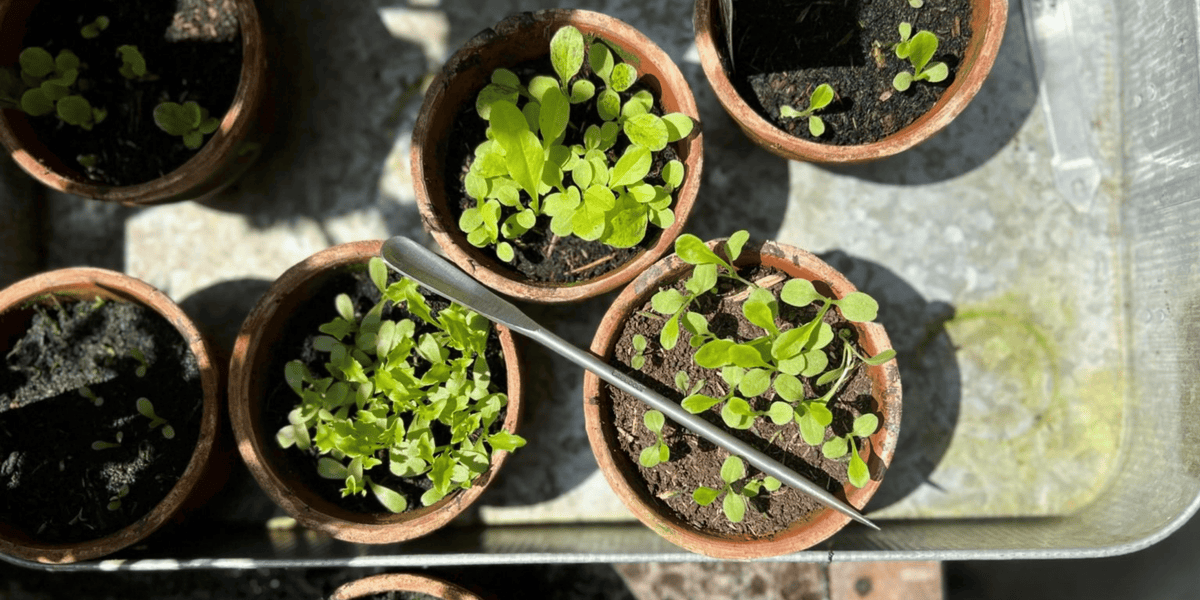
Every spring the same small tragedy plays out on windowsills across the country. A tray of tomato seedlings, a teaspoon, one slip, and a stem folds like wet paper. Six weeks of watering, gone in a second. There is a better tool for the job, and it was invented by a lawyer.
A lawyer with a hobby
The Seedling Pricker started life in the home workshop of Mr Waasdorp, a Dutch lawyer and devoted gardener. He could not find a tool precise enough for pricking out, so he made one. His first attempt was hammered out of reinforcing steel. Versions in red copper and brass followed before he settled on steel. The design found its way to Sneeboer in Bovenkarspel, and their smiths refined it into the stainless version we now stock. Sneeboer launched it at a spring market at the Utrecht botanical gardens in March 2025, with Mr Waasdorp and his wife there to tell the story. From a home workshop to a family forge that has been at it since 1913. Not a bad outcome for a hobby.
One rod, no joins
Each one starts as an 8mm rod of stainless steel, heated in the forge until it moves under the hammer. The smith flattens one end into a small spoon and draws the other into a sharp point. The shaft is smoothed and finished with fine steel wool. No welds, no seams, no handle to work loose, so there is nowhere for water to sit. At 22cm and 50 grams it lives in an apron pocket, and you forget it is there until you need it.
Pricking out, properly
Pricking out means moving seedlings from where they were sown into their own pots, so each one has room to grow on. Tomatoes, chillies, basil, lettuce, cosmos and zinnias all get this treatment. The time to do it is when the first true leaves appear, the second set after the seed leaves.
- Water the seed tray an hour before. Fill your new pots or cells with lightly moist seed raising mix.
- Make the new home first. Use the point to open a hole about as deep as the seedling is growing now.
- Slide the spoon in at an angle, just outside the roots, and lever the seedling up with its little clump of mix still attached.
- Hold it by a leaf, never the stem. A torn leaf is survivable. A pinched stem usually is not.
- Lower it into the hole, firm the mix gently around it, and water lightly. Keep it out of harsh sun for a few days while it settles.
Sneeboer's own advice is to do this in the cool of the morning or late afternoon, and to spread a big job over a few sessions. Your back will agree.
Or skip pricking out altogether
If you sow into soil blocks, there is no pricking out at all. Small blocks go straight into bigger blocks, roots undisturbed. That is a different system, and we have written it up in A Quick Guide to Soil Blocking for Vege Gardeners. For everything sown in trays, the Pricker is your tool. For the full sowing picture, read Growing from Seed.
Looking after it
Rinse off the mix after use and dry it. Stainless steel handles wet potting mix well, and if it ever picks up marks, Sneeboer suggest a rub with fine steel wool to bring it back. For the rest of the shed, see Care for Your Tools, and They'll Care for Your Garden.
With thanks to Sneeboer, who shared the story with us. The teaspoon can go back in the drawer.
Shop: Seedling Pricker · Plant Labels · Transplanting Trowel · the Sneeboer collection
Premium products for people who live in the garden.


