News

Kale has had its moment. Here are 13 vegetables that laugh at frost, sweeten in the cold, and quietly outproduce the lot of them through a New Zealand winter.

A pruning saw turns a fifteen minute wrestle into three clean strokes. Folding versus fixed, the magic of the pull cut, blade sizing, and how to keep it sharp.

Get more from your GreenStalk vertical planter. How to set up, what to grow, and how to water for a thriving vertical garden in any NZ space. Bugg.

Grow more with less effort. Companion planting combinations that work in NZ gardens, from the classic Three Sisters to pest-deterring pairings. Bugg.

How to choose the right garden shears for hedges, topiary and borders. What to look for, which types to know, and how to get a clean cut every time. Bugg.

Sore knees ruining your gardening? How to choose a kneeler or knee pads that actually help.

New to ikebana? What a kenzan is, how to use one, and the few tools you need to start arranging.

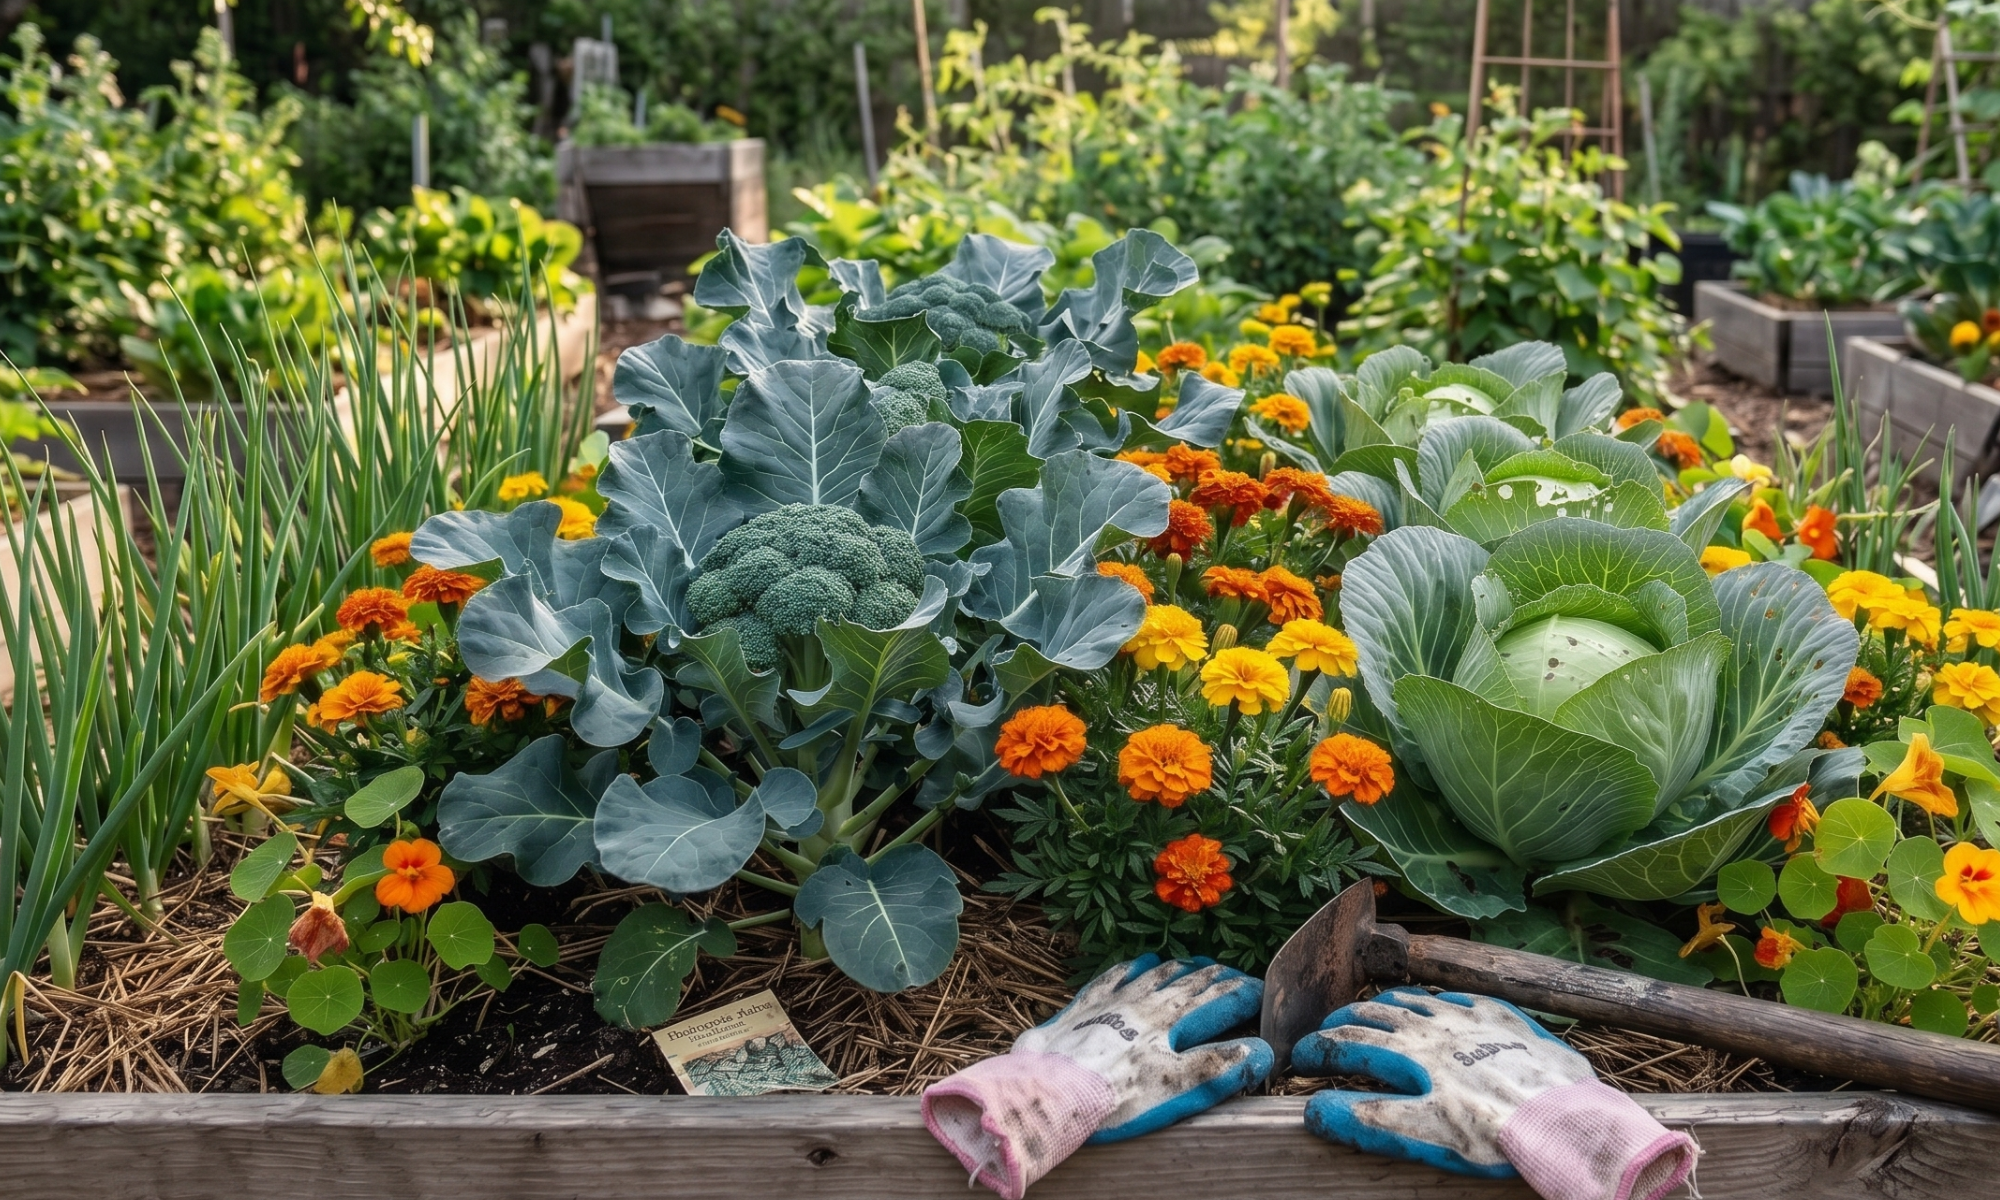
Pruning, weeding or wrestling roses? How to choose garden gloves for the job and get the fit right.

Autumn is the most satisfying season in the garden. Here is what to plant, what to clear, and how to set yourself up for an easy spring.

